Honda Accord: Why Does My Brake Pedal Go to the Floor?
If your brake pedal hits the floor, your master cylinder is likely failing. This fairly easy DIY can be completed in a couple hours or less.
This article applies to the Honda Accord (1990-2002).
If you step on the brake pedal and it touches the floor or you see brake fluid leaking from underneath your car, these are telltale signs that it might be time to replace your brake master cylinder. But since most faulty master cylinders only leak internally, you may not always see a visible leak. Master cylinders begin to fail over time due to wear or because the brake fluid becomes contaminated. Since a faulty master cylinder can lead to severe safety issues, don't wait to see a leak or feel something wrong before replacing it.

Materials Needed
- 10 mm line wrench
- 12 mm socket wrench
- Socket wrench extension
- Plastic sheet
Step 1 – Prepare your car
Spread a plastic sheet under your car to catch the leaking brake fluid.
Step 2 – Remove the two electrical connectors
Locate the two electrical connectors on the master cylinder. From the driver's point of view, they are located to the left and on the back of the master cylinder. Push in the tabs of each connector and pull them away from the master cylinder. You may be able to loosen them with just your fingers.

Figure 1. Location of the electrical connectors. 
Figure 2. Electrical connectors detached.
Step 3 – Open the brake lines
Use your 10 mm wrench to open the brake lines. There are two connected to the master cylinder. Open the brake lines carefully because some brake fluid will likely spill out.

Step 4 – Remove the bolts
Use your 12 mm socket wrench to remove the two bolts attaching the master cylinder to the brake booster. A socket extension might allow you to reach and remove the bolts easier, but you may be able to do so without a socket extension.
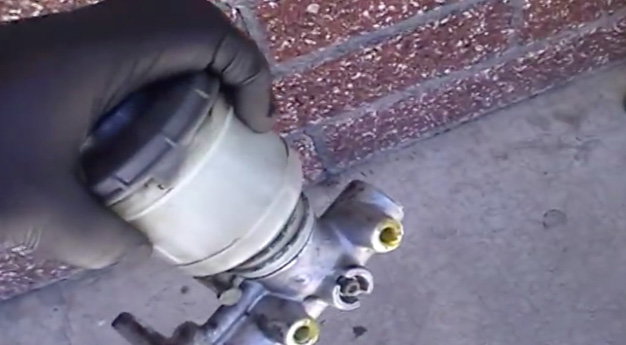
Step 5 – Install new master cylinder
Pull the old master cylinder out and set is aside. Push the new master cylinder in place, aligning the holes so you can secure it in place with the 12 mm socket wrench and bolts. If you used a socket extension when removing the bolts, you can use it here as well. Be sure you fully tightened the bolts before moving on to the next step.
Step 6 – Reattach the brake lines
Reattach the brake lines. Thread these by hand first, and then use your 10 mm wrench to tighten them in place. Again, be sure you've fully tightened them before moving on to the next step.
Step 7 – Reattach the electrical connectors
Reattach the electrical connectors. Since each connector is specific to each port on the master cylinder, you will easily be able to connect them to the correct ports. You should hear each connector click into place once you have correctly attached them.
Step 8 – Test your brakes
Turn on your car and step on the brake pedal. It should no longer press down to the floor and should also feel tight. If it is still hitting the floor, check to see that all of your connections are in tact and if not, secure them in place.
Featured Video: Honda Accord Brake Master Cylinder
Related Discussions and Site
- 1996 Accord - Brakes to the Floor - Honda-Tech.com
- 1995 Accord Brake Pedal Occasionally Goes Farther Than the Floor When Stopping - Honda-Tech.com
- Brake Pedal Goes to Floor - Honda-Tech.com
- Brake Pedal Goes to Floor and I Need Help Please - Honda-Tech.com
- The Brake Master Cylinder - Tegger.com