Honda Accord: How to Replace Tie Rod Ends
The tie rod ends of your Accord are crucial for your car's handling and performance. They also protect you from loosing control on the road. Find out how to replace the tie rod ends of your Honda Accord with this step-by-step guide.
This article applies to the Honda Accord (1990-2002).
Tie rod ends are small, but are crucial components that allow your car to work properly. They aren't just a part of the steering assembly, but they also allow your front end to be aligned properly, making sure you point in the right direction. Also, if kept maintained, they will help you avoid unnecessary tire wear. Follow the steps below to properly replace your tie rod ends.

Materials Needed
- New tie rod ends
- New castle nuts and cotter pins
- Hydraulic jack and jack stands
- 17mm socket and ratchet
- Lug nut wrench
- Needle nose pliers
- White electrical tape
- Ball joint press
Step 1 – Remove the wheels
- Slightly loosen the lug nuts from the two front wheels.
- Jack up the front end of your car up, and use jack stands to support it.
- Remove the lug nuts, and wheels. Set them aside.

Figure 1. Loosen the lug nuts before lifting the car. 
Figure 2. Always secure the car with jack stands.
(Related Article: How to Jack Up Your Car - Honda-Tech.com)
Pro Tip
It's much more difficult to loosen the lug nuts when the car is off the ground, so loosen them prior to jacking the car up.
Step 2 – Mark the alignment
Your steering gears connect to the tie rod ends, which control your car's alignment. So it's important to mark your current alignment settings before replacing any parts.
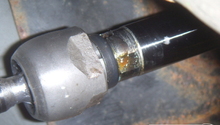
- Locate the point in which the tie rod end and the steering gear meet. The tie rod end is mounted to the spindle of the steering knuckle.
- Wrap white electrical tape around the visible threaded portion of the inner tie rod to serve as a marker point.

Step 3 – Remove the tie rod ends
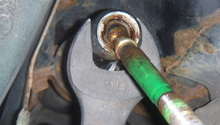
- Use the needle nose pliers to remove the cotter pin from the castle nut. This is located on top of the spindle where the tie rod end is attached.
- Use a 17mm socket and ratchet to remove castle nut.
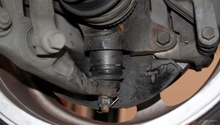
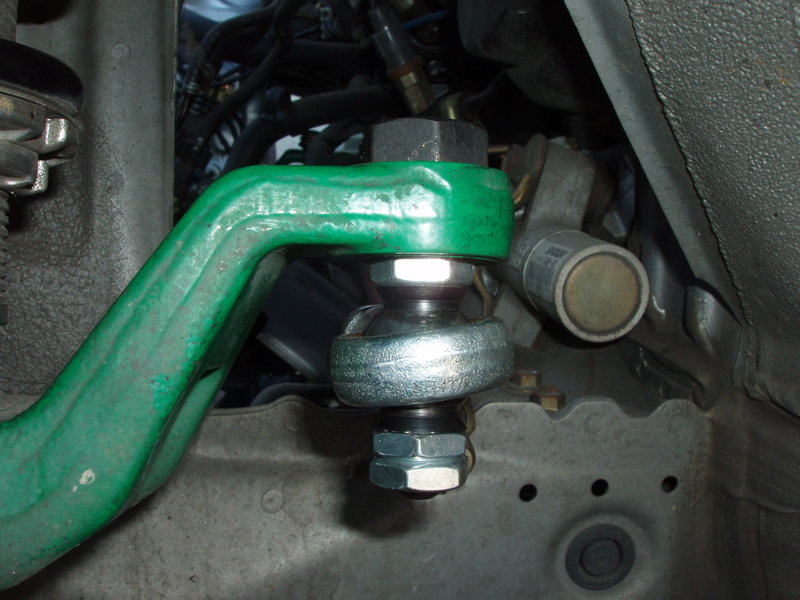
- Use a ball joint press to pop off the tie rod end from the spindle assembly.
- Twist the tie rod end until it disconnects from the inner tie rod.

Figure 4. Remove cotter pin before loosening the castle nut. 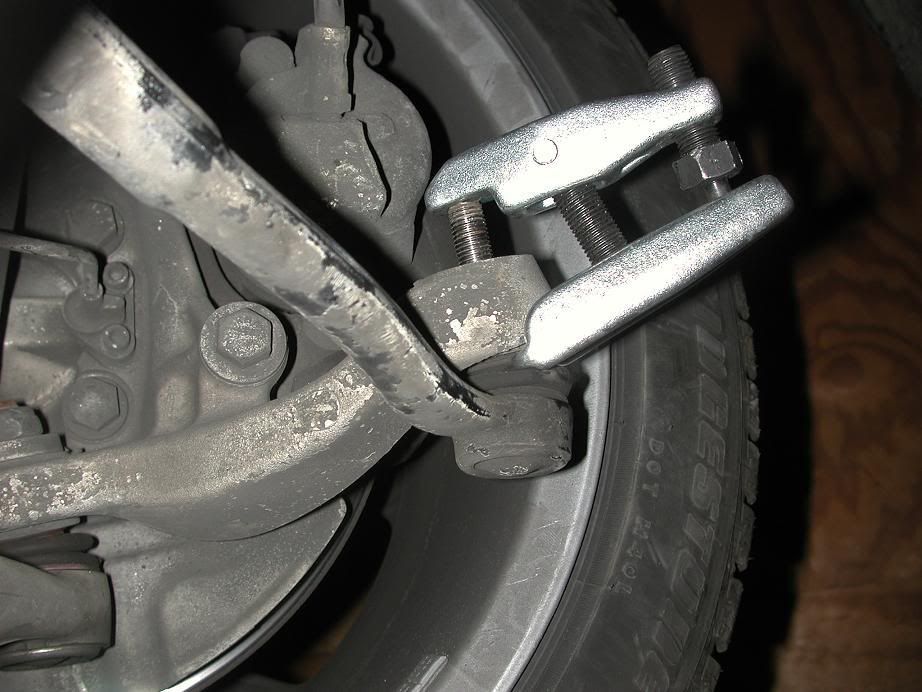
Figure 5. Use a ball joint press to pop off the tie rod end.
Step 4 – Install the new tie rod ends
- Fasten the new tie rod end to the inner tie rod, and stop at the taped marker point.
- Insert the tie rod end into the spindle, and fasten a new castle nut onto the thread of the tie rod end.
- With the 17mm ratchet and socket, tighten the castle nut to a snug fit.
- Insert a new cotter pin into the castle nut.
- Repeat this procedure with the tie rod end of the other front wheel.
- Finally, safely lower your car once both tie rod ends are installed, and take it out for a test drive.
Featured Video: How to Install/Replace Outer Steering Tie Rod
Related Discussion
- Tie Rod Issues - Honda-Tech.com